
Floating shelves offer a perfect combination of functionality and minimalist aesthetics. With no visible brackets or supports, these shelves appear to defy gravity while providing essential storage space. This guide demonstrates how to create professional-quality floating shelves that enhance any modern interior.
Understanding Floating Shelf Construction
The magic of floating shelves lies in their hidden mounting system. Unlike traditional shelving, floating shelves use concealed brackets that mount directly into wall studs, creating the illusion that the shelf emerges seamlessly from the wall surface.
The key to successful floating shelves involves proper planning, precise measurements, and secure installation. When done correctly, these shelves can support substantial weight while maintaining their elegant appearance.
Materials and Tools Required
Wood Materials
- Hardwood boards of your preferred species (oak, walnut, or maple work excellently)
- Dimensions: 36 to 48 inches length, 8 to 12 inches depth, 2 inches thickness
- Wood glue for laminating layers
- Sandpaper (100, 150, 220 grit progression)
- Your choice of finish: oil, stain, or polyurethane
Hardware Components
- Heavy-duty floating shelf brackets (rated for your desired weight capacity)
- Lag bolts for stud mounting (typically 3 to 4 inches)
- Wood screws for shelf attachment
- Wall anchors if studs aren't positioned ideally
- Level for proper alignment
- Stud finder for accurate mounting
Creating the Shelf Body
Begin by cutting your wood to the desired dimensions. For a substantial floating shelf, laminate two boards together to achieve the proper thickness. This construction method provides the hollow space necessary to accommodate the mounting bracket while maintaining structural integrity.
Apply wood glue evenly across one board's surface, then clamp the second board firmly on top. Ensure perfect alignment along all edges. Allow the glue to cure for at least 24 hours under pressure from multiple clamps spaced evenly along the length.
Once cured, use a router to create the hollow channel that will receive the mounting bracket. Measure your bracket dimensions precisely and route a channel that allows the bracket to fit snugly without binding. This channel should extend approximately two-thirds of the shelf's depth.
Preparing the Mounting Location
Selecting the proper mounting location significantly impacts both aesthetics and functionality. Use a stud finder to locate wall studs, as these provide the only secure mounting points for heavy-duty shelves.
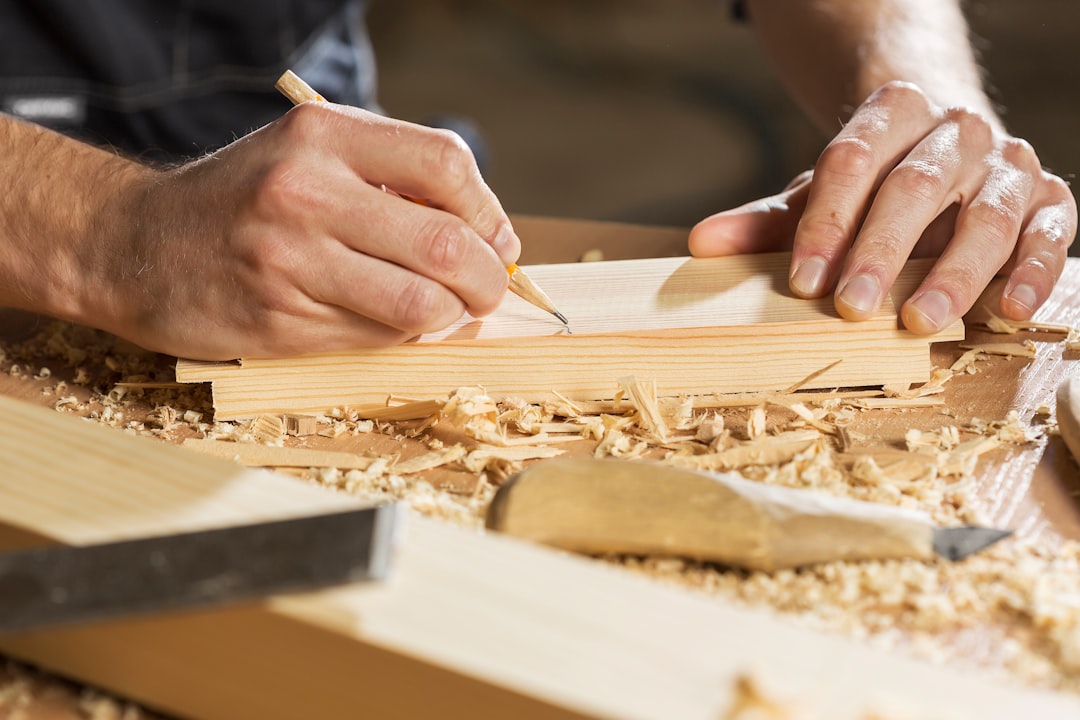
Mark your desired shelf height using a level to ensure the line is perfectly horizontal. Even slight deviations become obvious once the shelf is installed. Transfer these marks across the wall width to guide bracket placement.
If your ideal shelf position doesn't align with stud locations, you have two options: adjust the shelf position slightly to hit studs, or use specialized heavy-duty anchors rated for substantial weight. Always prioritize structural security over exact positioning.
Installing the Mounting Bracket
Position the floating shelf bracket against your marked line, ensuring it's perfectly level. Mark the drilling locations through the bracket's mounting holes. Remove the bracket and drill pilot holes into the studs, slightly smaller than your lag bolt diameter.
Attach the bracket using lag bolts, tightening firmly but avoiding over-tightening that could strip the wood or damage the drywall. Check level again after partial tightening and adjust if necessary before final securing.
For shelves longer than 36 inches, use two separate brackets spaced evenly across the length. This provides better weight distribution and prevents sagging over time.
Finishing the Shelf
Before installation, complete all finishing work. Sand the shelf progressively through 100, 150, and 220 grit sandpaper, always following the wood grain direction. Pay special attention to edges and corners, slightly rounding them for a refined appearance.
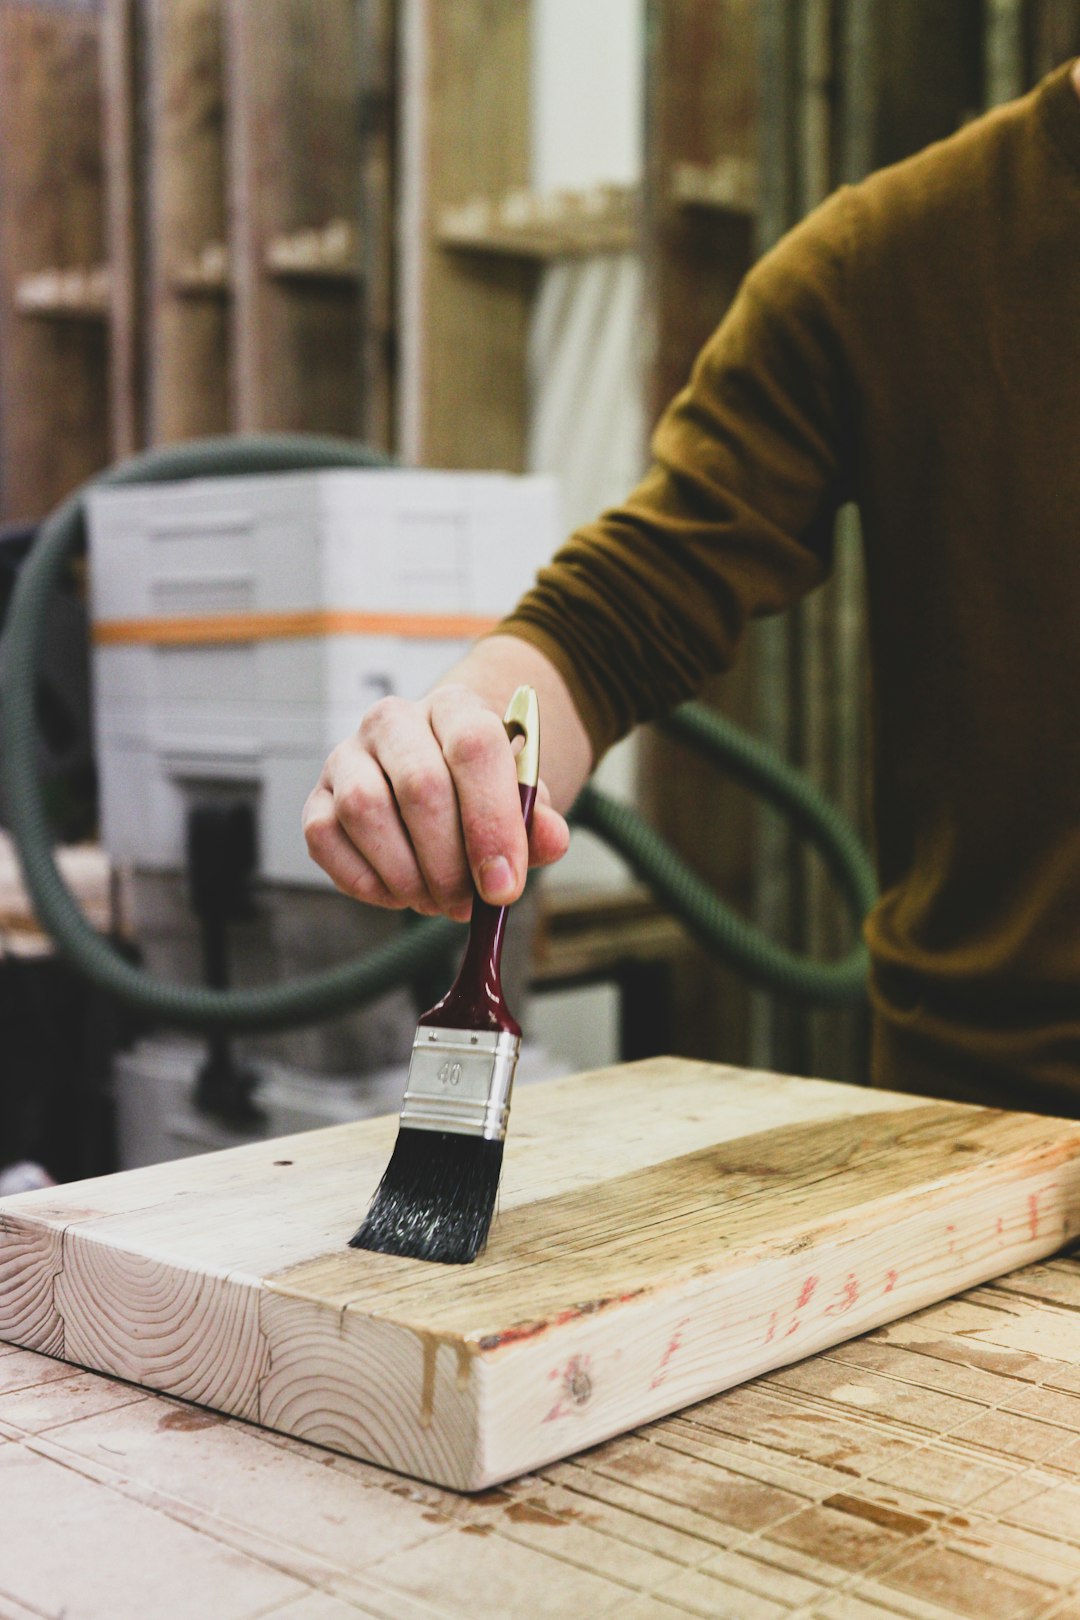
Remove all sanding dust with a tack cloth before applying finish. Choose your finish based on the desired aesthetic: natural oils enhance wood character while maintaining a matte appearance, while polyurethane provides superior protection with varying sheen levels.
Apply thin, even coats, allowing proper drying time between applications. Three coats typically provide optimal durability for shelf surfaces that will hold decorative items.
Final Installation
With the bracket securely mounted and the finish completely cured, slide the shelf onto the bracket. The routed channel should fit snugly over the bracket with minimal visible gap between shelf and wall.
Secure the shelf to the bracket using screws driven up through pre-drilled holes in the bracket into the shelf bottom. These screws should be long enough to provide solid purchase but not so long they penetrate the shelf's top surface.
Apply a thin bead of construction adhesive along the wall contact surface for additional stability and to eliminate any potential gap. This also helps prevent the shelf from sliding side to side over time.
Weight Capacity Considerations
Properly installed floating shelves can support impressive weight, but understanding limitations prevents problems. A shelf mounted to two studs with quality brackets can typically handle 50 to 75 pounds when weight is distributed evenly.
Avoid placing heavy items at the shelf's outer edges, as this creates leverage that stresses the mounting points. Distribute weight toward the center and across the entire length for optimal performance.
For particularly heavy items like large books or electronics, consider using thicker wood or additional brackets. Safety should always take precedence over aesthetics.
Styling Your Floating Shelves
Once installed, styling transforms functional storage into decorative elements. Create visual interest through varied heights, mixing books with decorative objects, and incorporating plants or artwork.
Follow the rule of thirds for balanced composition: divide the shelf into three sections and arrange objects accordingly. Leave some negative space to prevent a cluttered appearance. Group items in odd numbers for naturally pleasing arrangements.
Common Installation Mistakes
Avoid these frequent errors that compromise both appearance and functionality. Never skip the stud finder, relying instead on guesswork. Hollow wall anchors rarely provide adequate support for true floating shelves bearing any significant weight.
Don't rush the finishing process. Inadequate sanding or insufficient finish coats lead to rough surfaces and premature wear. Take time to achieve professional results that will last for years.
Ensure the routed channel matches your bracket dimensions precisely. Too tight and the shelf won't slide on, too loose and unsightly gaps appear. Test fit before finishing to avoid disappointment.
Conclusion
Creating floating shelves combines practical woodworking skills with attention to aesthetic detail. These projects transform wall space into functional storage while enhancing interior design. The satisfaction of installing custom shelves that perfectly suit your space and style makes this an incredibly rewarding project for any skill level.