
Geometric wooden wall art transforms plain walls into striking focal points through the interplay of shapes, natural wood tones, and dimensional depth. This project combines digital design tools with traditional woodworking to create contemporary art pieces that complement modern interior spaces.
Design Concept and Planning
Before cutting any wood, develop your design concept using vector graphics software. These programs allow precise control over geometric patterns, ensuring accurate measurements and pleasing proportions. Consider creating designs based on triangles, hexagons, or abstract geometric compositions.
The beauty of vector-based design lies in its scalability. Create your pattern at any size, knowing it can be scaled up or down without losing precision. Export your design with dimensional annotations to guide the construction process.
Consider the wall space where your art will hang. Measure the available area and design proportionally. A piece measuring 36 by 24 inches works well above a console table, while larger 48 by 36 inch pieces create statement walls.
Selecting Wood Species
Wood selection dramatically impacts the final appearance. Combining multiple species creates natural color contrast without requiring stains or paints. Popular combinations include walnut with maple for dramatic dark-light contrast, or oak with cherry for warm, subtle variation.
Consider grain patterns as well as color. Quarter-sawn wood displays straight, consistent grain perfect for geometric designs. Flat-sawn lumber shows cathedral patterns that add organic movement to rigid geometric forms.
Purchase wood slightly thicker than your final requirement. This allows for milling and sanding while maintaining consistent thickness across all pieces. Quarter-inch thickness works well for most wall art projects, providing substance without excessive weight.
Materials and Tools
Wood Materials
- Multiple wood species for color contrast (walnut, maple, cherry recommended)
- Backing board (plywood or MDF) for mounting surface
- Wood glue suitable for your chosen species
- Sandpaper (120, 180, 220 grit)
- Clear finish or wood oil for protection
Required Tools
- Miter saw for precise angled cuts
- Table saw for straight cuts
- Sanding block or orbital sander
- Clamps for assembly
- Measuring tools and speed square
- Pencil for marking cut lines
Creating Your Vector Pattern
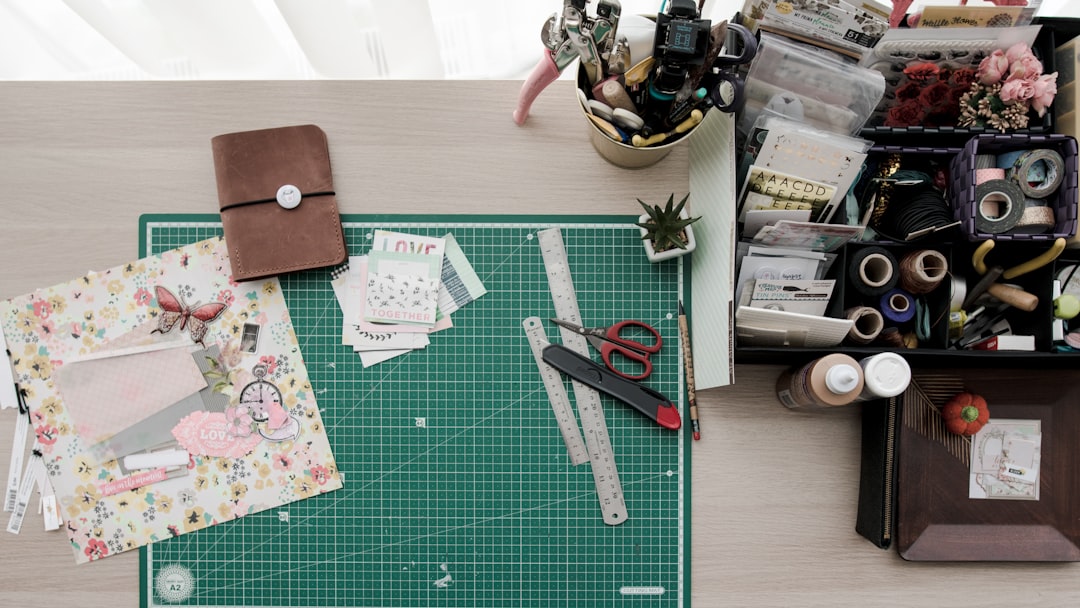
Using free software like Inkscape or paid programs like Adobe Illustrator, create your geometric pattern. Start with basic shapes, then arrange them into pleasing compositions. Consider symmetry for formal designs or asymmetry for dynamic energy.
Define node points where geometric shapes intersect. These nodes serve as reference points during assembly, ensuring pieces align correctly. Number each piece in your digital design to track them during construction.
Print your pattern at full scale. If your design exceeds printer paper size, print it across multiple sheets and tape them together. This full-scale template guides all cutting and assembly operations.
Cutting Wood Pieces
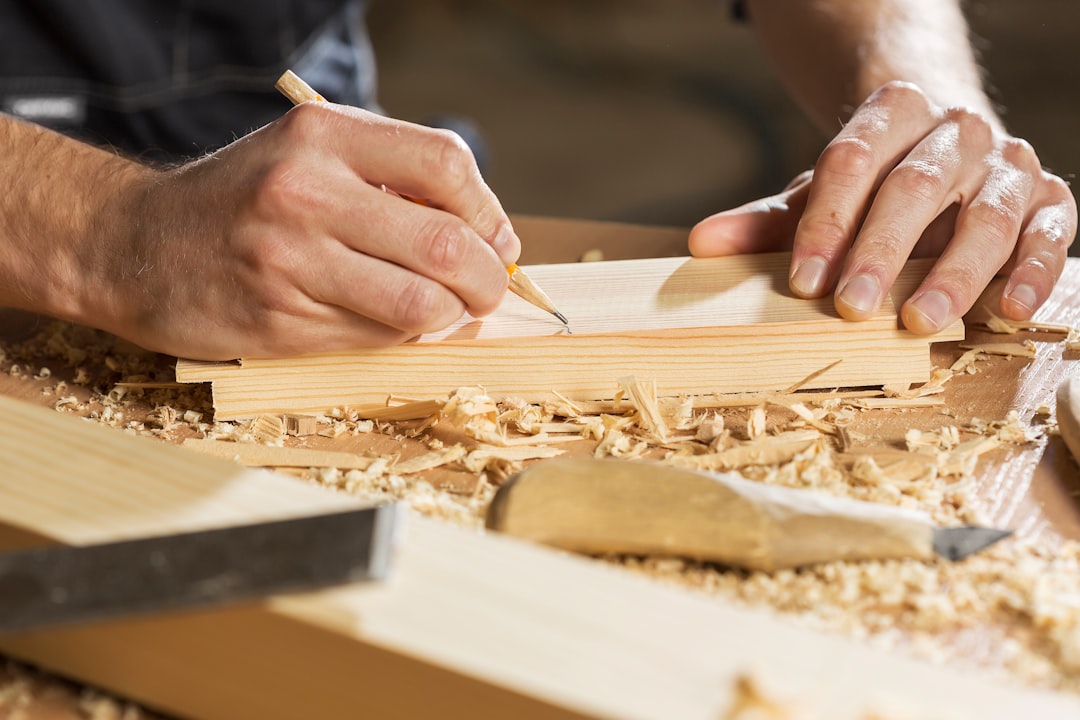
Transfer your pattern to the wood using carbon paper or by creating cardboard templates. Mark each piece with its corresponding number from your digital design. This organization prevents confusion during assembly.
Set up your miter saw for angled cuts, using a stop block to ensure identical pieces are exactly the same length. For geometric designs, accuracy matters tremendously. Even small discrepancies compound across multiple pieces, disrupting the overall pattern.
Cut several extra pieces of each shape. These spare parts prove invaluable if you make cutting errors or pieces split during handling. Better to have extras than run short during assembly.
Surface Preparation
Sand all pieces before assembly. This proves much easier than sanding after gluing when pieces are difficult to access. Progress through 120, 180, and 220 grit sandpaper for smooth surfaces.
Pay special attention to edges and end grain. These areas show most prominently in the finished piece. Slightly ease sharp edges with 220 grit paper to prevent splinters and create a refined appearance.
Remove all sanding dust with a tack cloth or compressed air. Dust particles trapped under finish coats create rough surfaces that diminish the professional appearance of your work.
Assembly Process
Prepare your backing board by cutting it to final dimensions. Sand the surface smooth and apply finish before attaching wood pieces. This prevents visible gaps if pieces shrink slightly over time.
Lay out your pattern on the backing board without glue first. This dry fit reveals any cutting errors before committing to permanent adhesive. Adjust pieces as needed to achieve proper alignment and spacing.
Working in sections, apply wood glue to piece backs and press firmly onto the backing board. Use weights or clamps to maintain pressure during drying. Wipe away excess glue immediately with a damp cloth to prevent finish interference.
Adding Dimensional Interest
Create shadow lines and depth by varying piece thickness or adding spacers beneath certain elements. Quarter-inch spacers beneath selected pieces create subtle dimensional interest that changes as lighting shifts throughout the day.
Consider leaving intentional gaps between pieces. These negative spaces become design elements themselves, allowing the backing board color to show through and creating visual rhythm.
For dramatic effect, angle certain pieces slightly by placing shims beneath one edge. This technique catches light differently and adds kinetic energy to static geometric forms.
Finishing Techniques
Choose finishes that enhance natural wood beauty while providing protection. Clear oil finishes penetrate deeply, bringing out grain patterns and color depth while maintaining a natural appearance. Apply with a cloth, working finish into the wood in circular motions.
For greater protection, especially in high-traffic areas, use water-based polyurethane. This finish provides a protective coating without yellowing lighter woods. Apply thin coats with a quality brush, sanding lightly between coats with 220 grit paper.
Allow finish to cure completely before hanging, typically 48 to 72 hours. Premature handling can leave fingerprints or mar the surface before the finish hardens fully.
Mounting Your Art
Install hanging hardware on the backing board before final finishing when possible. French cleats provide the most secure mounting method, distributing weight across a wide wall area while allowing easy leveling during installation.
For lighter pieces, use D-ring hangers positioned one-third down from the top edge. Install these at the same distance from each side edge to keep the piece level on the wall.
Consider the wall surface when selecting mounting hardware. Drywall requires wall anchors unless you can hit studs. Plaster walls often need specialized anchors designed for their density and brittleness.
Design Variations
Experiment with different geometric approaches to create varied effects. Tessellating patterns create orderly, meditative compositions. Exploded geometric forms suggest movement and energy. Gradient arrangements transition from dense to sparse, guiding the eye across the composition.
Incorporate metal elements like copper or brass strips between wood pieces for contemporary contrast. Mix materials like wood with acrylic for translucent effects when backlit. Add color through selective staining while leaving other elements natural.
Scaling for Different Spaces
Adjust your design proportions for various room sizes. Larger rooms accommodate bigger, bolder pieces with substantial visual weight. Smaller spaces benefit from more delicate designs that add interest without overwhelming.
Create multi-panel installations where separate pieces hang with intentional spacing between them. This approach allows art to span very large walls while keeping individual pieces manageable in size and weight.
Consider creating a series of related pieces using the same geometric vocabulary but different compositions. Display these as a collection across multiple walls, creating visual cohesion throughout the space.
Conclusion
Geometric wooden wall art represents the perfect fusion of digital design precision and handcraft execution. These projects allow unlimited creative expression while developing skills in both computer-aided design and traditional woodworking. The resulting artwork brings warmth, texture, and personal style to contemporary interiors, proving that technology and craft not only coexist but enhance each other beautifully.