Wood finishing transforms raw lumber into beautiful, protected furniture and decor. Professional finishing techniques make the difference between amateur projects and heirloom-quality pieces. This comprehensive guide covers essential methods for achieving flawless results that showcase wood's natural beauty while providing lasting protection.
Understanding Wood Finishing Fundamentals
Wood finishing serves dual purposes: enhancing aesthetic appeal and protecting surfaces from damage. Successful finishing requires understanding how different products interact with various wood species and how environmental conditions affect application and curing.
The finishing process follows a logical sequence: surface preparation, optional staining for color, and protective topcoats. Each step builds upon previous work, making thorough execution at every stage essential for quality results.
Patience proves critical throughout finishing. Rushing between steps or applying products too heavily creates problems that require extensive correction. Plan adequate time for proper technique and full curing between coats.
Surface Preparation Essentials
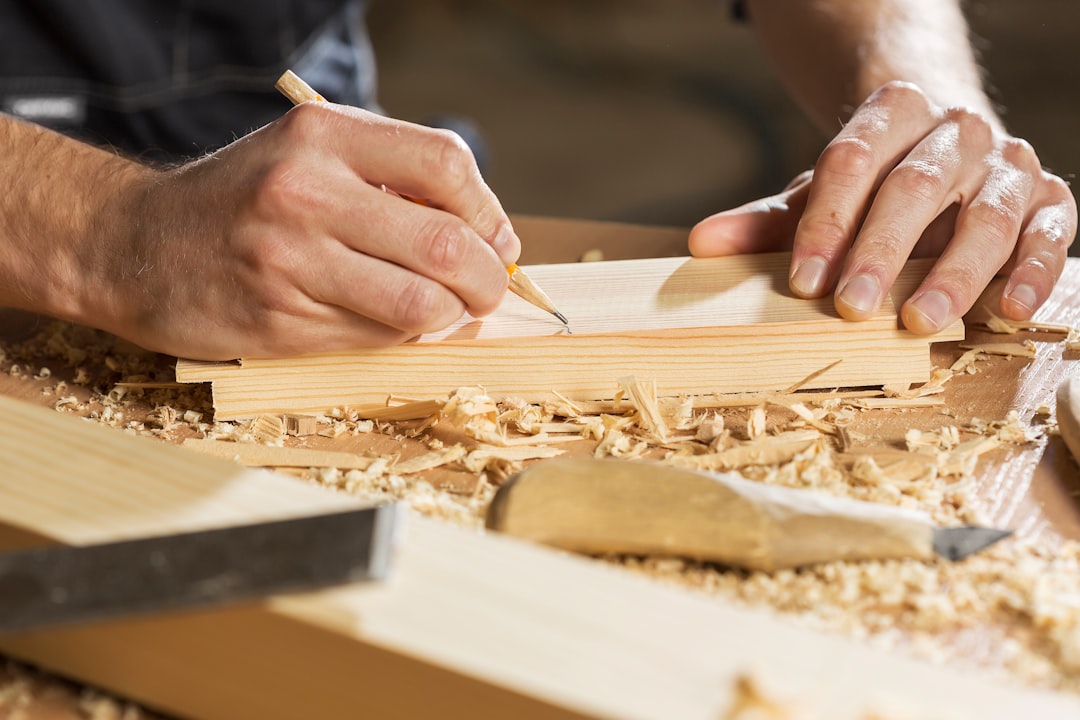
Perfect finishing begins with perfect preparation. No finish can hide poor surface quality. Invest time in thorough sanding to create smooth, defect-free surfaces that showcase finish beauty.
Begin with appropriate starting grit based on surface condition. Rough-sawn lumber requires 60 or 80 grit, while planed wood starts at 100 or 120 grit. Progress through increasingly finer grits, never skipping more than one step in the sequence.
Each grit removes scratches from the previous grit while creating new, finer scratches. Continue until reaching at least 220 grit for hardwoods, 320 for softwoods that show scratches more readily.
Always sand in the direction of wood grain. Cross-grain scratches show prominently under finish, particularly with stains that accentuate such defects. Use sanding blocks on flat surfaces to maintain level planes rather than creating dips from finger pressure.

Dealing with Wood Grain
After final sanding, raise the grain intentionally before finishing. Dampen the surface lightly with water, which causes wood fibers to swell and stand upright. Allow complete drying, then sand lightly with your final grit.
This process prevents grain raising after finish application. Water-based products particularly cause this issue, creating rough surfaces if grain wasn't pre-raised and sanded smooth.
Remove all sanding dust meticulously before finishing. Use a vacuum with brush attachment, followed by tack cloths to capture fine particles. Any remaining dust becomes trapped in finish coats, creating rough texture.
Selecting Appropriate Stains
Stains add or modify wood color while allowing grain patterns to show through. Oil-based stains offer longer working time and deeper penetration, while water-based alternatives dry faster with less odor.
Gel stains provide excellent control on vertical surfaces and blotchy woods, as their thick consistency prevents running and uneven absorption. However, they obscure grain more than liquid stains.
Test stains on scrap wood from your project, preferably pieces that include both face grain and end grain. Stain appearance varies dramatically across wood species and even within individual boards due to density variations.
Proper Stain Application
Apply wood conditioner to softwoods and woods prone to blotchy staining, including pine, cherry, and birch. Conditioner partially seals wood pores, promoting more even stain absorption across varying grain densities.
Apply stain liberally with brush, cloth, or foam applicator, working in manageable sections. Allow penetration time per manufacturer recommendations, typically 5 to 15 minutes depending on desired color intensity.
Wipe away excess stain thoroughly before it dries. Use clean, lint-free cloths, changing frequently as they become saturated. Stain left on the surface rather than in the wood creates sticky residue that interferes with topcoat adhesion.
For deeper color, apply additional stain coats after the first dries completely, typically 24 hours. Multiple thin coats provide better control than single heavy applications.
Understanding Topcoat Options
Protective topcoats shield wood from moisture, scratches, and UV damage. Choose products based on desired appearance, durability requirements, and application preferences.
Polyurethane offers excellent durability in oil-based and water-based formulations. Oil-based versions provide warm amber tones and slightly easier application but require longer drying times and produce strong odors. Water-based polyurethane dries quickly with minimal odor while maintaining wood's natural color.
Natural oils like tung oil and Danish oil penetrate deeply, enhancing grain while providing moderate protection. These finishes require more frequent reapplication but offer easy touch-up and repair.
Lacquer provides beautiful finish with minimal grain raising but requires spray equipment for best results and proper ventilation due to high VOC content.
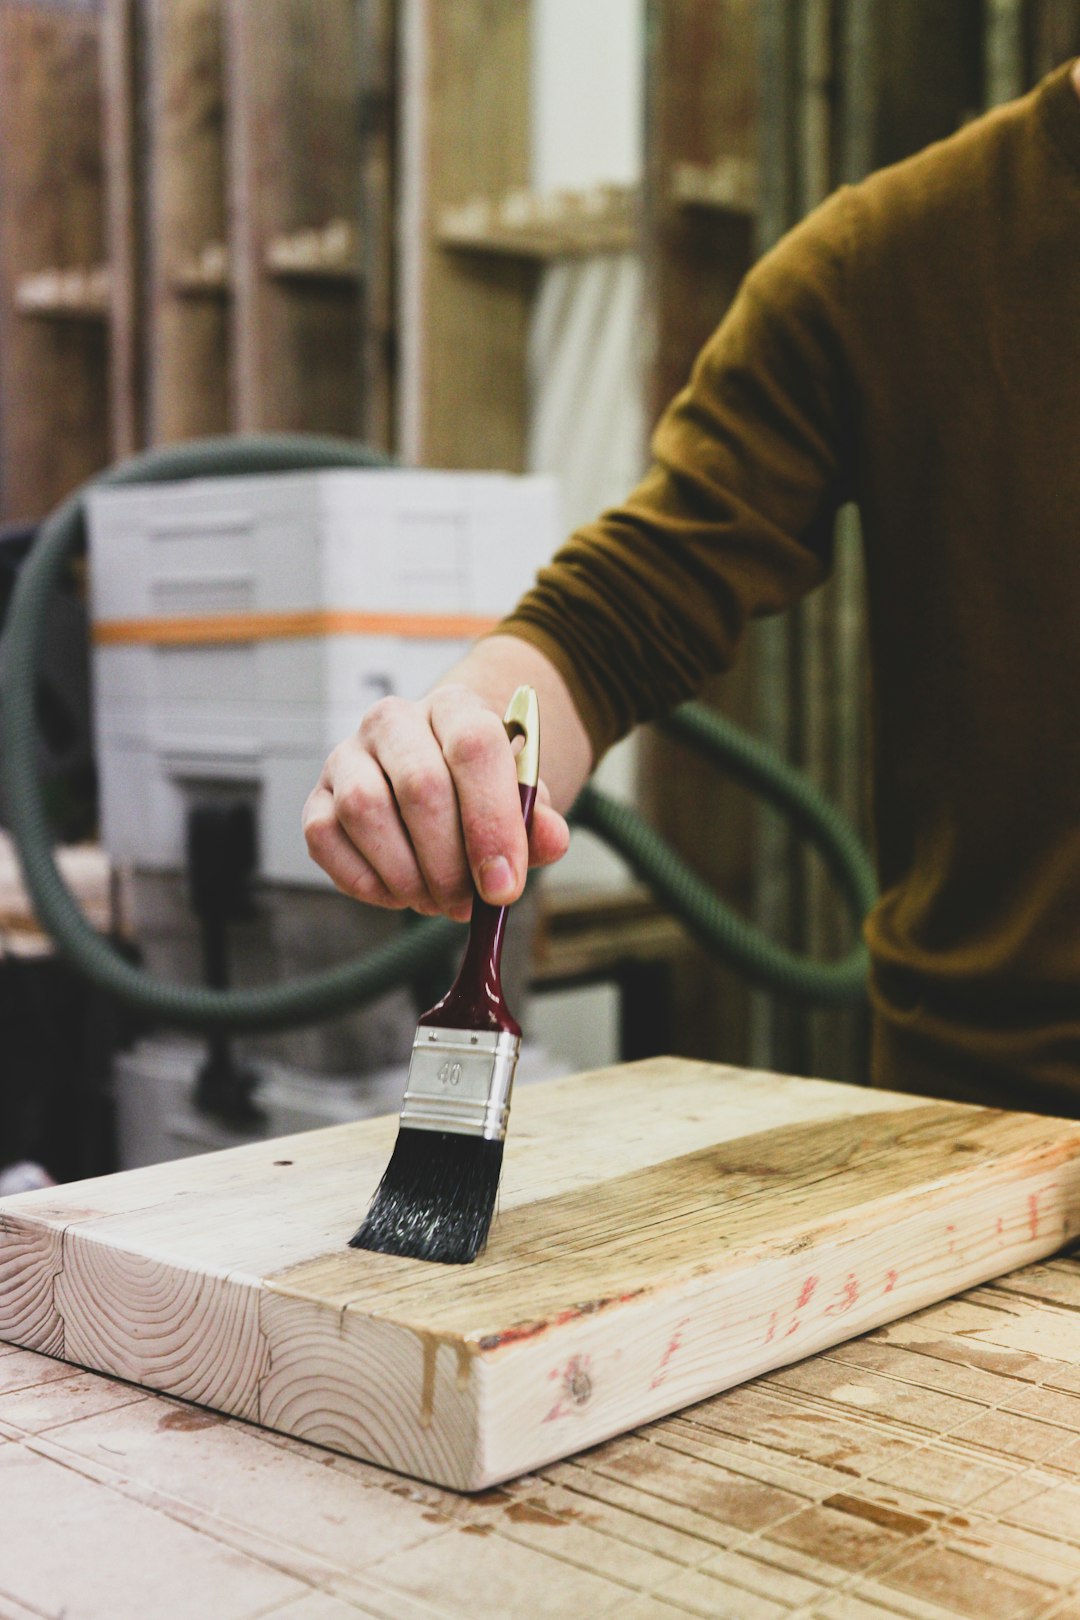
Applying Polyurethane Finishes
Thin the first coat slightly to promote better wood penetration and adhesion. This seal coat fills grain and provides foundation for subsequent applications.
Apply thin, even coats using quality natural bristle brushes for oil-based products or synthetic brushes for water-based finishes. Work in long, smooth strokes along the grain, maintaining wet edges to prevent lap marks.
Avoid over-brushing, which introduces air bubbles into the finish. Make one pass to apply finish, one pass to level it, then leave it alone to self-level.
Allow proper drying time between coats as specified by manufacturer. Sand lightly with 320 grit paper between coats to remove dust nibs and improve adhesion. Clean sanding residue thoroughly before applying subsequent coats.
Apply minimum three coats for furniture receiving regular use, four to five coats for high-traffic surfaces like table tops. Final coat requires no sanding unless correcting specific defects.

Oil Finish Application
Flood surfaces generously with oil, allowing 15 to 30 minutes penetration time. Keep surfaces wet during this period, adding more oil to areas that absorb quickly.
Wipe away all excess oil thoroughly. Oil left on the surface creates sticky, gummy residue that never fully cures. Continue wiping periodically over the next hour as additional oil bleeds from wood pores.
Allow minimum 24 hours between oil coats, longer in humid conditions. Apply three to five coats for adequate protection, with each coat building slightly more surface finish.
Dispose of oil-soaked rags properly to prevent spontaneous combustion. Either burn immediately, soak in water, or lay flat outdoors to dry completely before disposal.
Achieving Perfect Gloss Levels
Finishes come in various sheen levels from flat matte through high gloss. Choose based on aesthetic preference and practical considerations. Matte finishes hide imperfections and fingerprints better while glossy surfaces showcase wood figure more dramatically.
Modify sheen by rubbing out final finish coats. After complete curing, typically one week for polyurethane, rub surfaces with fine abrasives to achieve desired luster.
Use 600 to 1000 grit wet/dry sandpaper with mineral spirits for initial cutting. Progress through finer grits or polishing compounds, finally buffing with soft cloths for mirror gloss or stopping earlier for satin sheens.
Troubleshooting Common Issues
Brush marks result from finish that's too thick or brushing technique that's too aggressive. Thin finish slightly and use lighter brush pressure, allowing the finish to flow and self-level.
Bubbles trapped in finish come from over-brushing or shaking finish containers. Stir finish gently rather than shaking, and minimize brush strokes during application.
Fisheyes appear as small craters where finish won't adhere. These result from silicone contamination on wood surfaces. Strip finish completely and clean with mineral spirits before reapplying.
Orange peel texture indicates finish dried too quickly before leveling. Increase thinning slightly, work in cooler conditions, or switch to slower-drying formulations.
Environmental Considerations
Temperature and humidity significantly affect finishing success. Ideal conditions range from 65 to 75 degrees Fahrenheit with 40 to 60 percent relative humidity.
Cold temperatures slow curing dramatically while potentially causing finish to separate or become cloudy. Never apply finishes below 50 degrees Fahrenheit.
High humidity extends drying times and can cause water-based finishes to remain tacky indefinitely. Use dehumidifiers if necessary to maintain proper conditions.
Ensure adequate ventilation when applying finishes, particularly solvent-based products. However, avoid direct drafts that deposit dust on wet finish or cause uneven drying.
Maintaining Finished Surfaces
Allow new finishes to cure fully before regular use, typically one week minimum. During this time, finish continues hardening and building chemical resistance.
Clean finished wood with soft, slightly damp cloths. Avoid excessive water and harsh chemicals that damage protective coatings over time.
Apply furniture wax periodically to maintain luster and provide additional protection. Quality paste wax enhances finish beauty while making surfaces more resistant to water rings and minor scratches.
Address damage promptly to prevent spreading. Small scratches often buff out with fine abrasives, while deeper damage may require finish removal and reapplication in affected areas.
Special Finishing Techniques
Ebonizing creates rich black finishes using steel wool dissolved in vinegar, reacting with wood tannins. This traditional technique works beautifully on oak and other high-tannin woods.
Liming highlights grain texture by rubbing white pigment into open pores after sealing the surface. This Scandinavian technique creates striking contrast on oak, ash, and other ring-porous species.
French polishing builds mirror-gloss finishes through numerous shellac applications with oil-lubricated pads. This traditional technique requires practice but produces unsurpassed depth and clarity.
Conclusion
Wood finishing transforms functional projects into beautiful furniture worthy of pride. While techniques require patience and attention to detail, results justify the investment. Quality finishing protects your craftsmanship for decades while showcasing wood's natural beauty. Master these fundamentals to elevate all your woodworking projects from good to exceptional.